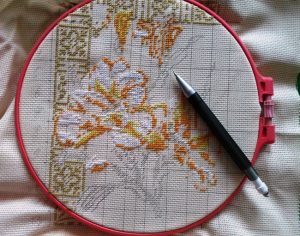
This video tutorial demonstrates how to properly and securely finish a two-step diagonal row of cross stitches. Anchoring your working thread correctly on the back (wrong side) of your fabric without bulky knots ensures your needlework remains completely flat, durable, and ready for framing.
Step-by-Step Instructions for Anchoring the Thread
- Turn to the Wrong Side: Flip your embroidery hoop over so you are working directly on the back (wrong side) of your canvas, where the knot-free thread fastening is performed.
- Weave Under the Stitches & Canvas Threads: Slide your tapestry needle underneath the back vertical embroidery stitches and the underlying warp threads of the base fabric.
- Pull & Lock the Thread: Pull the working thread gently through, then pass the needle under the next set of back stitches and base fabric threads.
- Trim the Thread Tail: Once the thread is firmly friction-locked under the vertical stitches, snip off the remaining tail flush with the fabric.
Key Benefits of This Fastening Method
- Flat & Seamless Backside: Since the two-step diagonal method leaves only neat vertical stitches on the reverse side, weaving the tail directly under them creates a zero-bulk, knotless finish.
- Maximum Durability: Threading the tail through multiple vertical stitches and fabric fibers prevents stitches from unravelling, even after washing or stretching.
- Professional Finish: Eliminates dark shadows or lumps showing through on the right side of light-colored fabrics.
💡 Stitching Tip: Keep light, even tension while weaving the tail through the backside stitches so you don’t distort or pull tight the finished crosses on the front side.
As you can see, finishing a two-step diagonal row is quick and simple. After practicing this technique alongside the video, you will be able to anchor your threads cleanly and reliably in any cross-stitch project.
Watch our free «Cross Stitch: Finishing a Two-Step Diagonal Row» video tutorial online at your convenience. Happy stitching and best of luck with your crafting!