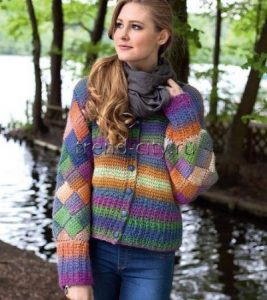
The video lesson “Crochet for Beginners. Part 7. Front Post Stitch” is dedicated to teaching you how to crochet a textured front post stitch. This beautiful technique allows you to add volume and a 3D effect to your handmade projects.
Before you start creating a pattern using front post stitches, you need to crochet a foundation chain. The first row must also be completed with standard double crochet stitches. After that, add two turning chains and turn your work.
Step-by-Step Instructions:
- Insert the hook behind the post of the stitch from the lower row, pull the yarn through, and yarn over.
- Insert the hook again into the same space on your piece and pull the yarn through once more.
- At this point, you should have four loops on your hook.
- Catch the working yarn from your left index finger and pull it through three of the loops on your hook.
- Finally, pull the yarn through the remaining two loops to complete the stitch.
Following these exact steps, crochet all the remaining front post stitches in your row. Please note: the hook must be inserted every time into the space located between the posts of the stitches in the row below.
After completing all the steps in this tutorial, you will undoubtedly be ready to crochet a front post stitch pattern entirely on your own. You can watch the “Crochet for Beginners. Part 7. Front Post Stitch” video tutorial online at any convenient time, absolutely free. Happy crocheting and good luck with your handmade creations!