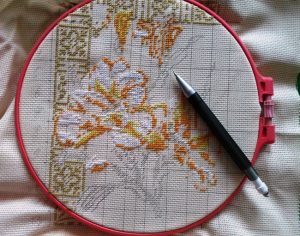
This beginner-friendly tutorial is dedicated to mastering the popular embroidery technique known as the Herringbone Stitch (often referred to as the catch stitch or goat stitch).
Step-by-Step Instructions:
- Starting the Stitch: Begin by bringing your needle up from the back (wrong side) of the fabric to the front at the starting point, then make your first diagonal stitch from left to right.
- Securing the Next Point: Bring the needle back out to the front side of the fabric just slightly to the left of where your first diagonal stitch ended.
- Forming the Cross: Work a second diagonal stitch so that the intersection of these two threads crosses at the top edge.
- Continuing the Pattern: Bring the needle through to the front again to form the next interlocking stitch, repeating the same rhythm across the row.
💡 Pro Tip for Perfect Tension: If you have executed the technique correctly, the back (wrong side) of your fabric will feature two parallel horizontal rows of neat, tiny running stitches.
Watch our free «Cross Stitch for Beginners: Herringbone Stitch» video masterclass online at your convenience. Happy stitching and enjoy your crafting!