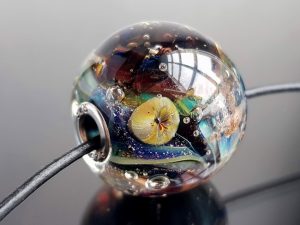
For those who really want to draw but unfortunately feel they don’t know how, I suggest exploring a wonderful craft known as dot painting (also called point-to-point). For beginners, it’s important to know just a few nuances, while professionals, of course, have their own mastery secrets and a technique honed by practice.
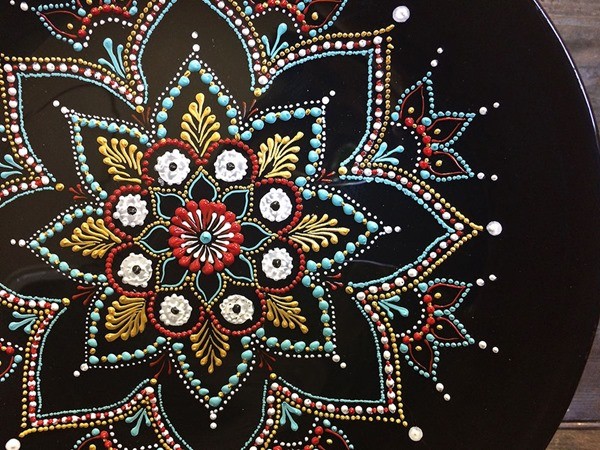
Using the dot painting technique, it is possible to decorate almost any surface, be it glass, wood, or leather. It won’t be difficult to paint exquisite patterns on plates and glasses, picture frames, jewelry boxes, and even a passport cover.
The History of Dot Painting
The history of the dot painting technique originates from the art of metal embossing (chasing). It was the metal-chasers who first began to decorate forged items by carefully dropping paint onto the surface from a small tube.
Modern craft and painting enthusiasts have turned this activity into a beautiful hobby that is now enjoyed by many around the world. In the West, dot painting is often referred to as “point-to-point.”
Materials Needed
The dot painting technique involves the use of acrylic paints; they adhere perfectly to any surface and dry quite quickly.
Ordinary brushes are rarely used for this work, with the exception of specific broad brushstrokes. For dots, you need something more or less pointed so that the pattern comes out even, round, and neat.
For instance, you can take an old dried marker or a dotting tool and dip it into the paint. However, it is most convenient to use special acrylic outliner tubes (contour pastes), where the liquid is squeezed out with a light press.
The tube is equipped with a fine nozzle tip, from which perfectly even and identical droplets emerge.
The Dotting Technique
A dot can be not only round but also any other shape: diamond-shaped, pointed, drawn out into a teardrop, etc. While applying round dots rarely causes problems, achieving different shapes and consistent sizes is a matter of technique and pressure.
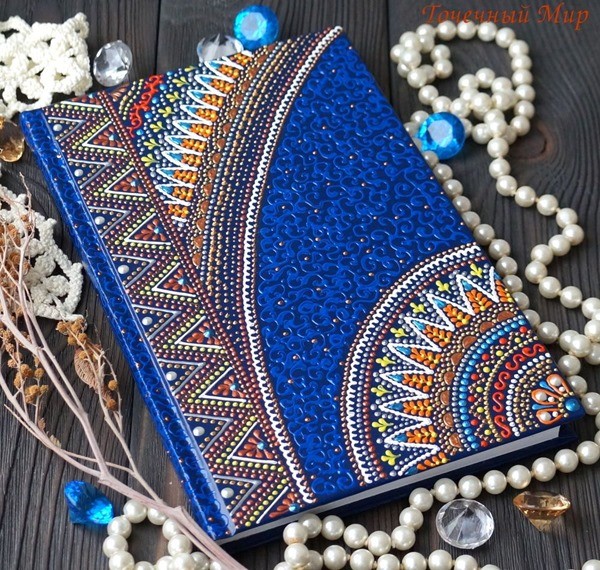
Masters of dot painting have refined this process to an automatic level. Beginners, before tackling a big project, should practice on a piece of thick paper or scrap material. It is recommended to start your creative journey with simpler, single-contour designs on flat plates or glasses. The most important thing is to feel how the paint applies, understand its thickness and properties, and get used to controlling the tube.
Step-by-Step Process
So, if you decide to try your hand at the dot painting technique, you need to remember a few basic principles:
- Before you start applying the pattern, the working surface—whether it’s glass, plastic, or leather—must be degreased. Alcohol-containing liquids, cologne, or rubbing alcohol are used for this. If you skip this step, the paint will peel off very quickly, leaving only memories of your creative work.
- Check whether the characteristics of your contour paints match the material you are going to paint on. The fact is that some acrylics are formulated for specific surfaces (like glass or fabric), while others are universal.
- To make the surface smooth and as convenient as possible for dot painting, you can coat it with a special primer and paint it the desired background color beforehand.
- And, of course, it’s important to remember that you can always remove a failed painting element before it dries completely. Simply moisten a cotton swab in water or acetone and gently wipe away the crooked drop.
As you can see, there is nothing complicated about dot painting for beginners! So stock up on paints and start creating excellent and unique decorative items!
Video: Dot Painting for Beginners
If you are just wanting to try the highly popular point-to-point technique, this video is for you! It covers the very basics of this painting style, main techniques, and the theory of preparing various surfaces for your art.