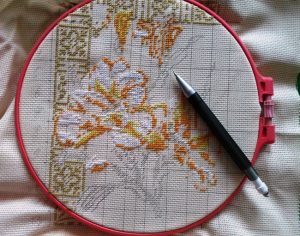
In this video tutorial, you will learn how to easily execute the Long Cross Stitch (also known as the elongated cross stitch). This versatile variation of the traditional cross stitch adds height, texture, and visual interest to your embroidery designs.
Step-by-Step Instructions:
- First Diagonal Stitch: Insert your needle from the wrong side to the front of the fabric, and create your first diagonal stitch slanting upwards from left to right.
- Positioning for the Second Stitch: Bring the needle back out on the front side at a point slightly to the left of your first stitch’s end point.
- Crossing Over: Complete the cross by making the second diagonal stitch, slanting from right to left across the first stitch.
- Starting the Next Stitch: Bring the needle up to the front directly below the starting point of your previous stitch, and repeat the sequence for the next cross.
💡 Key Rule for Proportion: Ensure that the vertical spacing and distance between the lower points of each cross are noticeably wider than between the upper points. This creates the signature elongated geometry of the stitch.
Watch the free «Cross Stitch for Beginners: Long Cross Stitch» video lesson online at any time. Enjoy your stitching!