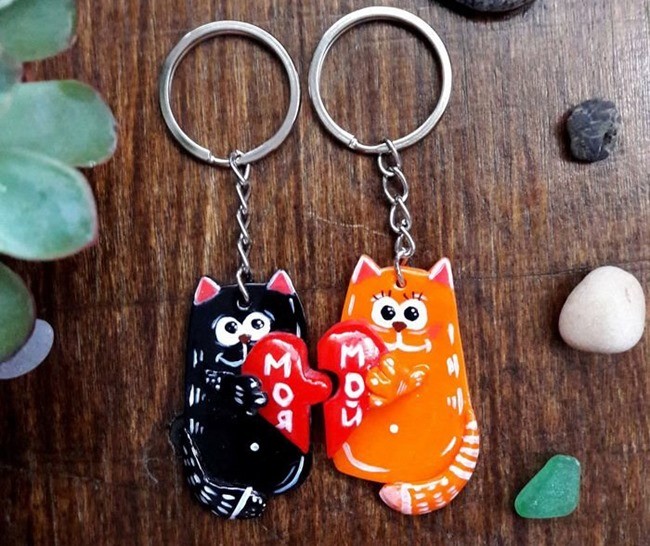
A keychain can serve not only a decorative purpose but also a practical one: adding weight and volume to a bunch of keys to reduce the risk of losing them, while simultaneously acting as a flashlight, remote control, mirror, laser pointer, or anti-stress toy. In recent years, plastic and paper pendants for backpacks and handbags featuring kawaii designs, cartoon characters, and video game heroes have gained immense popularity.
FreeHandmade.com has collected the best step-by-step video tutorials on making DIY keychains right at home.
3D Keychains
Tatiana shares a simple and accessible method for making 3D pendants. Following her example, anyone can create a custom design by printing a favorite picture or drawing one themselves. Then, you just need to cut it out and attach it to a 3D base. The base is glued together from several layers of corrugated cardboard. Protecting it with clear tape on all sides will increase its durability. The only thing you’ll need to buy separately is special hardware with a ring to attach it to your keys or a zipper pull.
Kawaii Style Keychains
The creator shares three ideas for kawaii-style crafts:
- A funny marshmallow couple made of white felt with flirtatious bows.
- Cupcakes drawn (or printed) on paper, covered with a layer of glue for moisture resistance. The video shows how to smooth it out and attach it to the base using a hair straightener.
- A polymer clay chocolate bar. It’s incredibly easy to make, and no special tools are required.
After mastering the technique, craft lovers can create their own kawaii characters based on these ideas.
Plastic Bottle Keychains
Tatiana Andreeva teaches how to create funny characters out of plastic bottles. You’ll need to stock up on a smooth piece of plastic (by cutting off the neck and bottom of a bottle), double-sided and regular transparent tape, and a metal ring on a chain. The design can be printed or drawn by hand. In a similar way, you can easily decorate your backpack or keys with a miniature banknote, favorite cartoon characters, or apply your own creative ideas.
Cat Keychains
https://youtube.com/watch?v=gL46EVul3z8
The host starts with the step-by-step creation of fish and cat head outlines using grid paper, forming a sturdy template for making the pieces. The parts are glued together to add volume and left to dry for a couple of hours or overnight under a heavy weight. Then, they are covered with acrylic paint several times to even out the surface. The subsequent painting process is demonstrated in detail, explaining all the nuances. A simple pencil and a manicure brush will come in handy here. The result: a cheerful cat catching a fish with its paw, with elements swinging on chains of different lengths. Clouds can be made similarly, but using felt instead of cardboard.
Liquid Keychains (Shakers)
An hourglass, a jar with a floating eye, a bag of candies – this master class explains and shows how to make them all. The base is made of plastic film, ironed to seal the edges. Clear baby oil serves as the liquid in which the paint (in the hourglass) or a paper eye laminated with tape (in the jar) floats. For the candy bag, you’ll need small round candies coated with clear nail polish so they don’t melt in the liquid. You can also make them without liquid, in which case the extra protective layer isn’t needed.
Nut Projectile Keychain
A master class from a DIY channel for those familiar with metalworking. You will need a standard threaded rod, three nuts, a copper block, a drill, a sanding tool, a vise, and files. To form the warhead, you need to grind two nuts and a copper tip to the desired parameters, and finally smooth it out with sandpaper. The tail fins are carved from the third nut. The maker dips the finished product in ferric chloride. After etching, the copper tip acquires an interesting iridescent look. The result is a cool miniature model resembling a mortar shell.
Coin Grenade Keychain
Metalworkers will appreciate this master class on making a mini-version of a hand grenade. The body is formed from alternating copper, bronze, and cupronickel coins soldered with tin. During further processing, it’s crucial to ensure the tin doesn’t soften from heating by constantly cooling it with water. The ribbing is done with a file (or a rotary tool), a wire serves as the pin, and the release lever is carved from a small metal plate. After etching, the original colors of the coins emerge, creating a beautiful iridescent pattern on the body due to the alternating metals.
DIY Feather Keychain
A master class by Olya on weaving a feather using a loom (slingshot) and a hook. You will need rubber bands in white, light pink, pink, turquoise, light blue, blue, and purple. You can change the colors and quantity as desired. This light, airy, and colorful feather can be made in a pair and turned into original earrings.
Avocado Keychain
This video shows the process of making a miniature avocado. For this project, you need polymer clay (the creator uses FIMO), modeling tools, and a work surface. The piece doesn’t have many tiny details, making it easy to follow the steps. There is no voiceover; all important points are displayed on the screen in text format. The tutorial is perfect for people with some basic knowledge of working with polymer clay. The final result is a realistic-looking avocado with a cute heart-shaped pit.
Paracord Keychain
You will need a 2.8m long cord, a tape measure (or ruler), and a few minutes of your time. The keychain is formed by wrapping the paracord in two layers around a base. In essence, it’s a compact bundle of strong rope that serves a decorative purpose while always being handy. If necessary, it can be easily untangled in seconds and used for its intended purpose in emergency situations. Choosing a multi-colored material can result in an interesting pattern. Even a child can create this awesome pendant.
Any miniature craft with a hanging loop can easily be turned into a keychain. Experienced crafters create mini-books and figurines, while beginners can start with weaving rubber bands or cords, making yarn balls, or repurposing old pendants and earrings. Imagination is limitless: from cheap cardboard figures painted with your kids to complex, realistic miniatures made of polymer clay.